![Complete Curtain Set [Late Vanagon]](http://gowesty.com/cdn/shop/products/GVW-232-712.jpg?v=1647456697&width=500)
![Complete Curtain Set [Early Vanagon]](http://gowesty.com/cdn/shop/products/full_2ee9c02a007b6967078fe5cea0069422.jpg?v=1647294029&width=500)
![Front Door & Windshield Curtain [Vanagon]](http://gowesty.com/cdn/shop/products/full_7cde5a7c3e1181d99ced0e0412fc3733.jpg?v=1647296831&width=500)
![Front Curtain [Eurovan]](http://gowesty.com/cdn/shop/products/full_5068d6a1304d0b85517154a82c8a6826.jpg?v=1647296793&width=500)
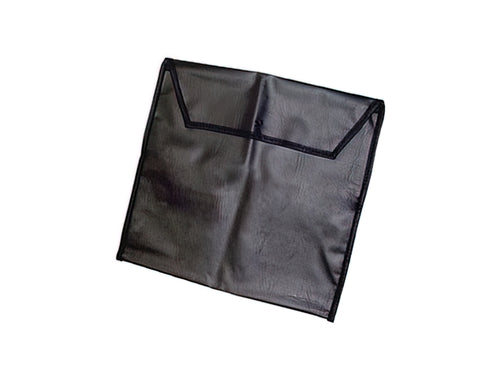
![Sliding Door Privacy Curtain [Vanagon]](http://gowesty.com/cdn/shop/products/GVW-232-714BL.jpg?v=1678407113&width=500)

![Front Curtain Velcro Disks [Winnebago]](http://gowesty.com/cdn/shop/products/full_ebc8c5c37369009e430712daedd6f792.jpg?v=1647296800&width=500)
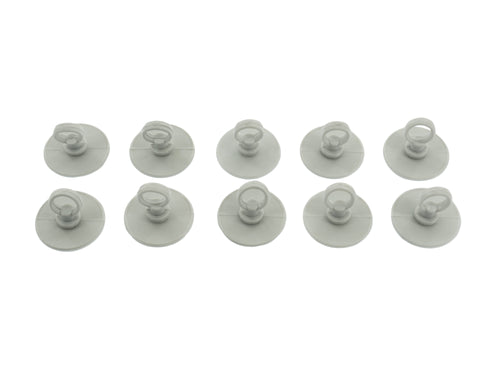
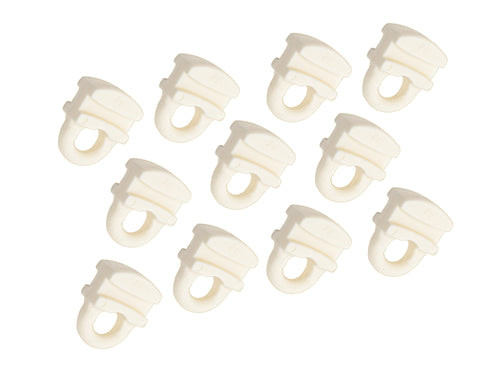
![Window Blind Mounting Bracket [Winnebago]](http://gowesty.com/cdn/shop/products/full_bec1d439ab0fecc7664355283c1769c3.jpg?v=1647383422&width=500)


![Curtain/Shade Spool [Winnebago] (Pack of 2)](http://gowesty.com/cdn/shop/files/097592-01-000-2.jpg?v=1706833211&width=500)

Gifting has never been easier
Perfect if you're short on time or are unable to deliver your gift yourself. Enter your message and select when to send it.


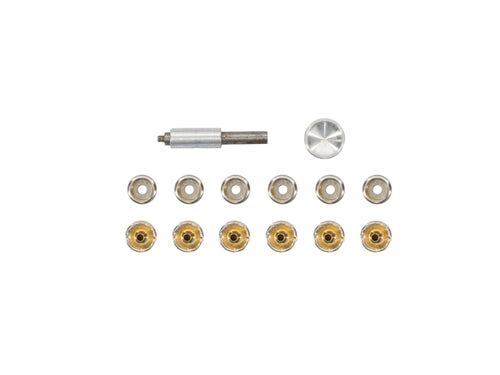
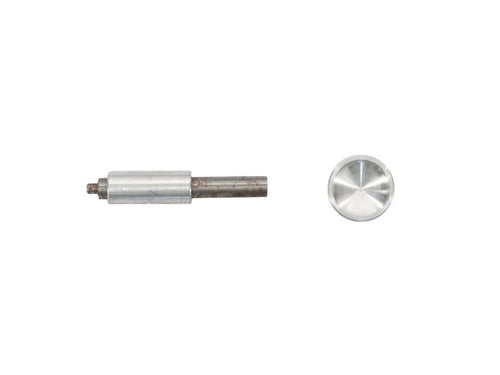
| Product: | 030237 |
|---|---|
| Works With: | All Vehicles |
| Manufacturer: | Quality Aftermarket |
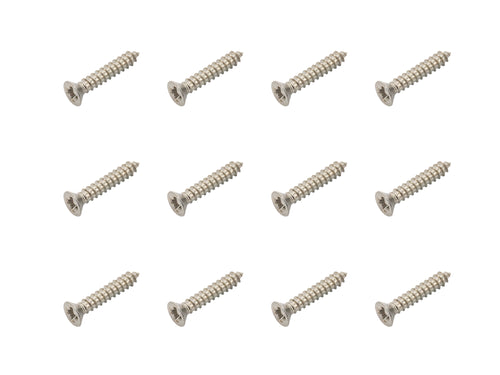
This tool makes installing female snaps quick and very easy. It comes with about 18 new snaps, too!