


Gifting has never been easier
Perfect if you're short on time or are unable to deliver your gift yourself. Enter your message and select when to send it.

Kit de réparation de pédale d'embrayage

| Product: | GVW-EMBRAYAGE-PEDALE-FIX |
|---|---|
| Works With: | 1980-1991 |
| Manufacturer: | GoWesty |
| Availability: | Good Stock |
| Wrench Rating: |  Requires some hand & power tools and minimal mechanical knowledge. |
Transformez ce qui pourrait être un coûteux passage au garage en une réparation qui ne vous coûtera que quelques centimes, ou mieux encore, en un projet de bricolage satisfaisant à la maison, grâce à notre kit de réparation de pédale d’embrayage.
Ce kit ingénieux restaure même les pédales d’embrayage les plus usées sans avoir à les retirer du véhicule, même si le trou de pivot de la rotule du maître-cylindre de pédale d’embrayage est complètement élargi. Pas de soudure, pas de perçage, pas de tracas. Cela peut sembler magique, mais ce n’est en réalité que le fruit d’une conception intelligente et bien pensée.
Compatible avec : Vanagon 1980–91 avec transmission manuelle
Notre ingénieux kit de réparation de pédale d’embrayage GoWesty élimine la nécessité de retirer la pédale d’embrayage, de la souder, de percer un nouveau trou et de la remettre en place—une opération qui nécessite normalement de retirer tout le tableau de bord ainsi que l’ensemble des pédales d’embrayage et de frein, ce qui prend à un mécanicien professionnel et expérimenté (qui possède également un poste de soudage) presque toute la journée. Le kit de réparation de pédale d’embrayage GoWesty permettra à ce même mécanicien d’obtenir en moins d’une heure un meilleur résultat. Et si vous êtes bricoleur et patient, vous pouvez tout à fait vous en charger vous-même. Regardez notre vidéo et voyez si c’est le bon projet pour vous.
Alors, comment ça marche ?
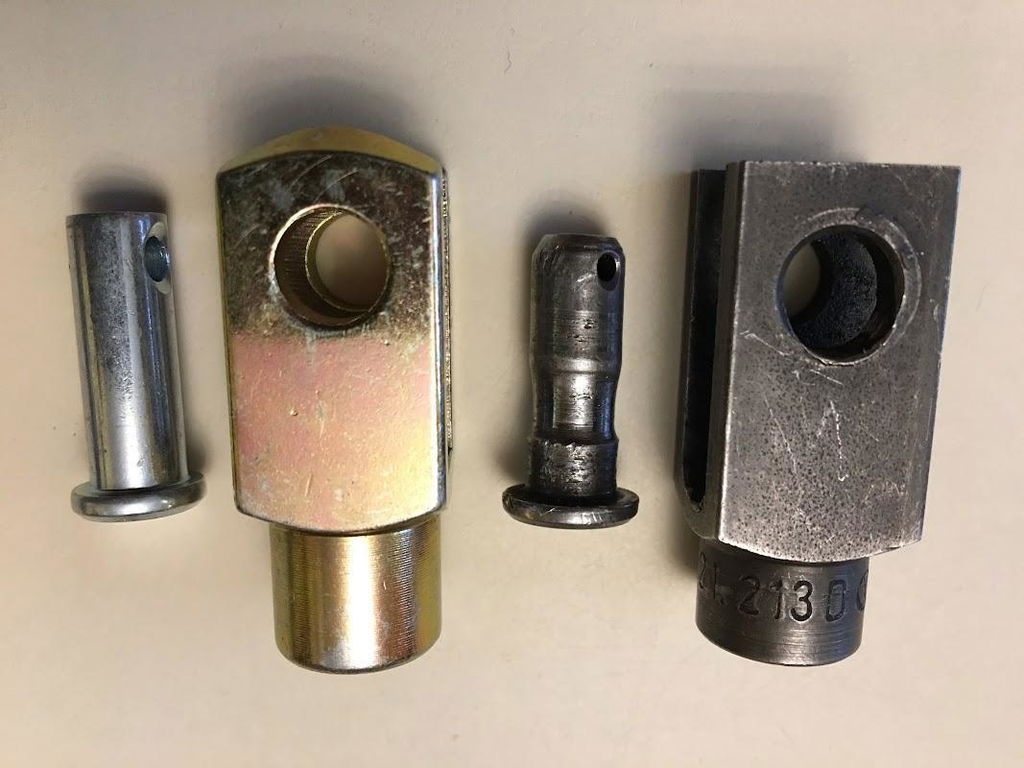
Le kit crée un tout nouveau trou pour l’axe de la rotule à l’aide d’une pièce en U qui se fixe sur la languette de la pédale d’embrayage. La nouvelle rotule se glisse par-dessus et l’axe s’insère directement. Pour être honnête, la partie la plus difficile de toute l’opération consiste à retirer l’ancienne goupille. Notre axe de rotule amélioré est doté d’une bille à ressort qui se clipse simplement en place : fini les prises en charge avec les goupilles. Non seulement la réparation prend une fraction du temps, mais la conception du pivot GoWesty offre également une surface de roulement deux fois supérieure à celle de la conception d’origine de VW. Il ne s’agit donc pas d’un simple « bricolage de fortune », mais bien d’une amélioration.
Oui, GoWesty est là pour vous !
To download or print these instructions, click the arrow in the top-right corner of the viewer below, then use the print or download controls in the opened document. Open PDF in a new tab
Handy — Requires some hand & power tools and minimal mechanical knowledge.
 Plug 'n' Play — Requires no or basic hand tools and no mechanical knowledge.
Handy — Requires some hand & power tools and minimal mechanical knowledge.
 DIY — Requires a full tool set and broad mechanical knowledge.
 Pro — Requires professional-level tools, talent and experience.
Proposition 65: This product may contain chemicals known to the state of California to cause cancer, birth defects, or other reproductive harm.
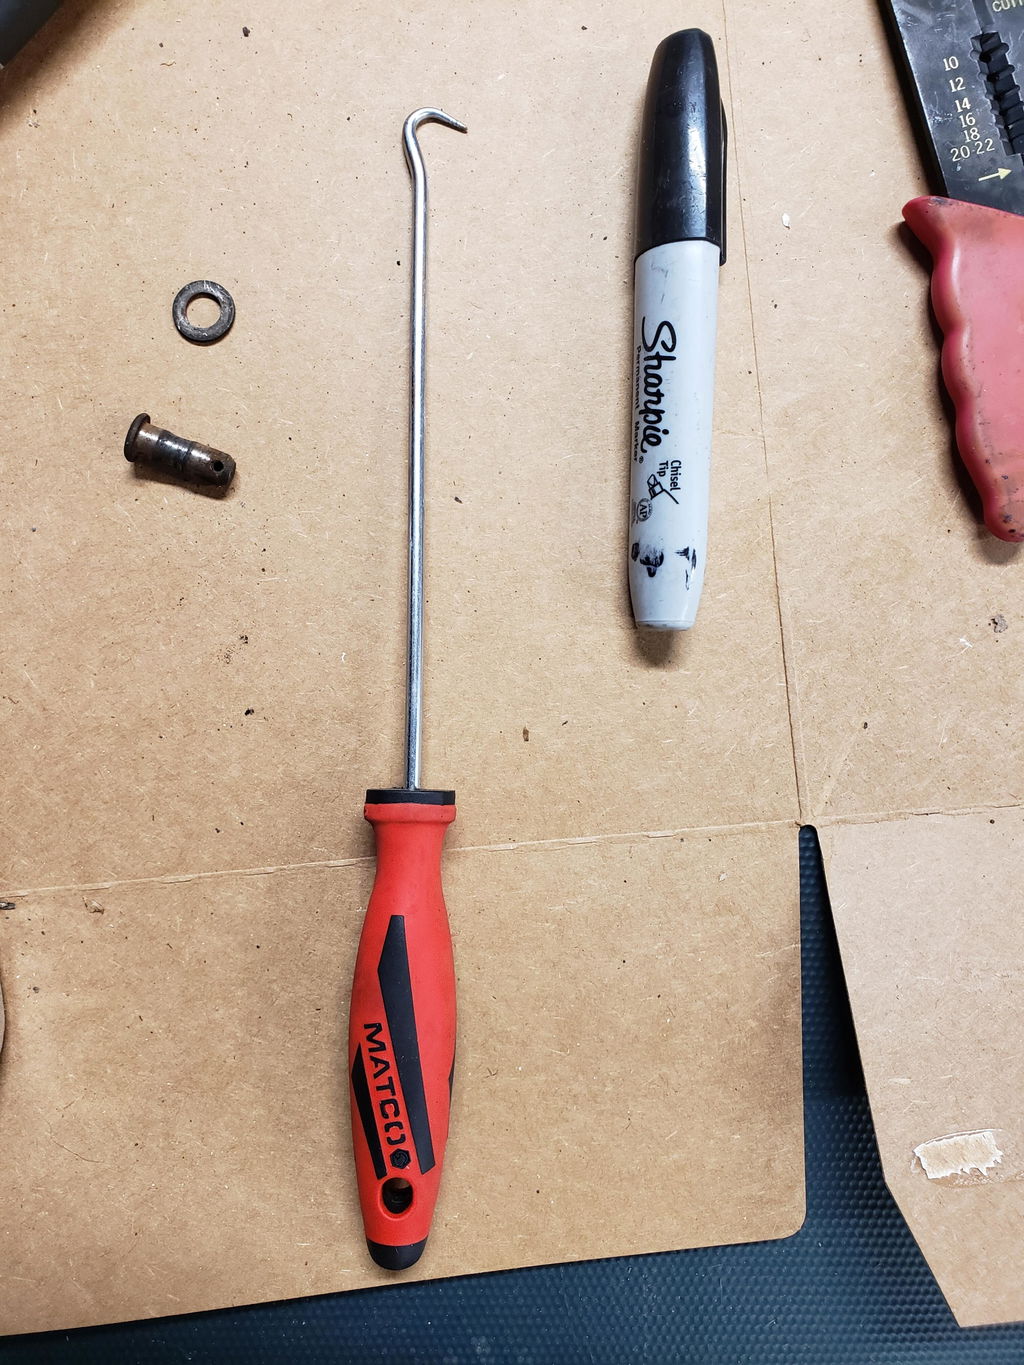
Bought to repair the slop in my 82 westy diesels clutch pedal assembly. Instructional video for the repair procedure helped a ton. It definitely is a mostly blind job but with a little patience and a good U shaped pick you can get it done.
Our T3 has many kilometres on it. Five years ago I replaced the original clevis and pin, with new parts. That addresses half of the wear on the clutch system, the other half, wear on the pedal lever still remains.
This summer, the wear on these parts was requiring me to push the clutch pedal hard to the floor to disengage the clutch.
This winter I decided to remove the dash and remove the clutch pedal lever, weld and reshape the mount point for the clevis.
Fortunately, I saw the Clutch Pedal Fix Kit, before I started the job. Following the instructions provided, in about two hours the job was done and zero play between the clutch push rod and the clutch pedal lever.
It is a blind job, a mirror will help and a positionable light. For adjustment a crow foot wrench is a big help (as mentioned in the instructions).
Don't bother replacing your worn parts of the same design, at best you will only get rid of half the problem. This kit will fix it correctly.
The part itself if fine. I’ve installed two now into different vans. Not sure if the wear was enough to cause my issues either time, but they were done as part of an attempt to solve clutch drag issues. The problem is installation. The video makes it look deceptively easy. It is NOT. There is barely enough space to get a hand up in there and trying to maneuver small parts with fingertips is a test of patience. I did the first one with a small mirror and mostly by feel. I tried a borescope the second time, and it took me even longer. You have to contort your body into the weirdest positions to gain access, have a billion patience points ready to burn and be doggedly determined. Before doing this again, I would be absolutely sure it was necessary, rather than trying it to see if it could help solve the issues I had. Figure 4-6 hours for the job, cut up hands and perhaps a trip to the chiropractor when you’re done.
Although the video makes it look easy to install, it’s a bit of struggle. Once installed it works perfect! Cleans the pedal slop up instantly. Great product.
Awesome fix you guys are great 👍
Excellent product works great easy to install
Simply clever!
awesome fix a little tight getting the old one out cotter pin was bitch all said and done great fix
"This kit turns an all-day-take-the-dash-board-off-nightmare into a 30-minute job, start to finish".
Unfortunately this statement does not apply to the average home do- it-yourself person.
The hardware seems to be well engineered and manufactured , but after many hours scrunched under the dashboard, and, according to all the various pieces of advice I have sourced online, I have still not been able to remove the circlip holding the clevis pin in place.
My research has revealed that the best way for this installation is to either remove the clutch pedal assembly or the dashboard. You may consider adding this to your instructions.
I will do the latter once again in the Spring and install the fix kit then. After which I will be able to properly assess the kit's efficacy.
Hi Joe. Thanks for your feedback. We are sorry to hear your install proved difficult, but we can assure you that the pedal assembly and dash do not need to be removed. You mention struggling with the 'circlip' and we are hopeful that you were not trying to remove the main pivot rod of the clutch/brake pedal assembly. Only the cotter pin on the rod end of the clutch/master cylinder clevis needs to be removed. They can be stubborn, but they do come out. Once removed, the rest of the procedure is lightning quick. It may be helpful to watch our video again, and also take a look at the schematic drawing posted on the web page. Both may help you visualize how the parts all work. Best of luck to you!
I ran into challenges getting the clutch master cylinder out of the way on my 1984, had to remove it completely, more work than anticipated. Still a great product!
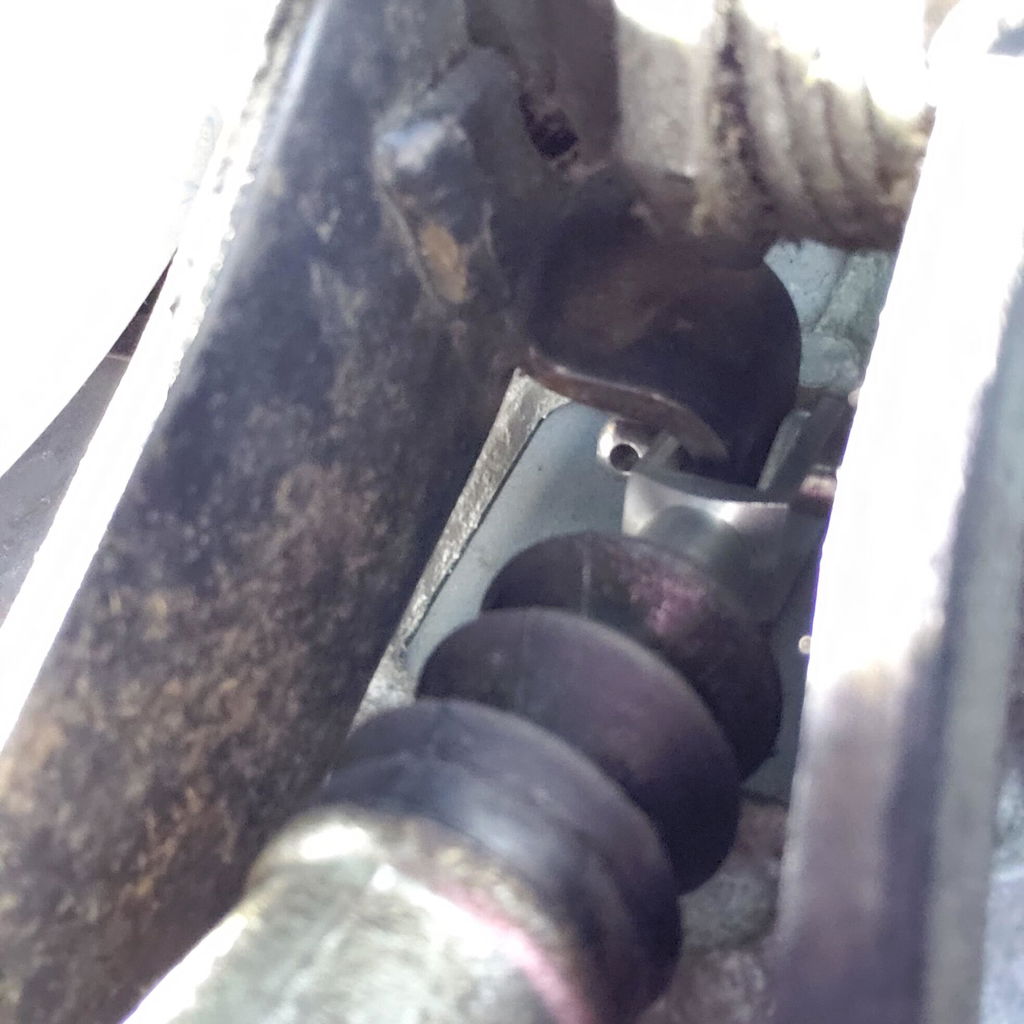
According to the video, you might be one of the lucky ones in getting the cotter pin out of the shaft. I wasn't lucky.
At first, working in the blind with a mirror was not good. Then watched the video and using the cell phone camera helped a lot.
But the shaft would not rotate, and if it was actually a cotter pin and not something mickey moused in, there was no getting it out. I finally ground off that end of the shaft using a rotating tool from Harbor Freight, with a long flexible shaft chucked with a diamond infused conical grinder. That fairly quickly removed the end of the shaft and out it came.
Getting the pin pushed into the assembly was not at all what the video shows. There was no way to get a finger on the end of the pin, so I used a pick, stuck into the hole of the end of the shaft, to shove it in.
Full vocabulary of golf words required here. However, it worked. The mechanic at the shop said I would have to take out the clutch pedal. I can certainly see why he said that. This was an annoying process, but it sure beats removing the dash or clutch pedal.
In the instructions, the spacing between the start of the threads and lock nut on the shaft is given as 3 mm, but what's shown in the photo is a lot more than 3 mm. I used 3 mm when setting it up, and the clutch pedal is properly adjusted.
Strong little part, seems like a solid fix and best done by someone with small hands.
haven fitted yet
Once the old part was out, installing was very easy! Which turned out to be great because I had to redo it 3 or 4 times to get my slop adjusted correctly. I had a crows foot wrench but wasn’t able to tighten the locking nut once I had it adjusted how I liked so there was a bit of guess and check when it came to getting the correct length—at least I am very familiar with the assembly/disassembly process now! Instructions could stand to be a bit clearer when it comes to adjusting and final tweaks (but probably anyone who knows a little about what they’re doing would have an easier time than me)
Excellent little kit, install was harder than the video makes it look haha
My Mechanics (who are Vanagon specialists) spent 2 1/2 hours trying to install this to no avail. Couldn’t install it so it’s useless.
Hi Neill, we're bummed to hear of your poor experience. We have sold (and installed) many hundreds of these. It is actually one of our most popular fix kits. We would love to check in with your mechanic to chat about their experience. Would you be will to give us their contact info? All the best, Taylor
Avoids welding up oblong pivot hole, seems like it will be a long lasting fix- time will tell. I ended up having to pull the clutch pedal as I could not get the cotter pin out. Also getting the pushrod to master cylinder clearance took three tries. Glad it’s done.
It may have a one-wrench difficulty rating based on GW's scale, but is a 9 on a scale of 10 in terms of the difficulty of executing the repair. Anyone who has gone through the process of replacing their clutch master cylinder knows this to be true. You are removing a (probably) damaged pin from the clevis, meaning it hangs up during the attempt, and then installing the beautifully designed fix kit, all without being able to see what you are doing. It is doable, but very challenging and requires great patience. I split the job into two sessions to maintain my sanity.
worked just as described. everything is as good as new.maybe even better because it wont happen again.
Replaced my worn clevis pin and gear changes now smooth as a knife through butter - only hard part was removing the original pin